Basement bathroom exhaust fan venting options. Venting a basement bathroom can be very frustrating, especially if you don’t know the basement bathroom exhaust fan venting options. Because of the basement’s nature and where it is usually in our homes, venting an exhaust fan can be very confusing.
However, there are basement bathroom exhaust fan venting options to follow, but you have to make sure to verify your municipal code approves the use of such venting options. While some places may approve the use of a particular venting option, another area may not. To avoid stories that touch when house inspectors come, make sure to verify or, better still, call a professional licensed roofer to do the job for you.
However, the question now, what are the basement bathroom exhaust fan venting options? Which venting option is suitable to be used in the basement bathroom via code?
Ceiling to wall venting option is the most suitable venting option for the basement bathroom. The reason is that the exhaust fan will be installed on the ceiling while the vent goes all the way to an exterior wall through the rim joist.
The reason ceiling to wall venting option is more popular than others is because, if you have an upstairs, you will not be able to vent the downstairs through the roof as the roof leads to the second floor. So, ceiling to wall remains the best option used by many.
Table of Contents
Best Basement Bathroom Exhaust Fan Venting Options
Below is the best basement bathroom exhaust fan venting option.
Ceiling to Wall Venting Option Through the Rim Joist
Ceiling to wall venting option through the rim joist is the best venting option for basement bathrooms exhaust fan. The reason why this is the best is the nature and position of the basement in each household. The ceiling to wall venting options will enable the bathroom fan to be installed in the ceiling while the vent goes outside the wall through the rim joist.
With the ceiling to wall venting option, what you need to do is to install the exhaust fan on the roof of the basement bathroom, through the rim joist, measure and mark the line where the vent will be outside, use a drill to open the hole, which should also serve as a mark to where you will be opening.
Now go outside, measure the vent to the wall and make a hole from the measurement you got from the vent. I will explain how to vent the basement bathroom using the ceiling to wall venting option, but before then, there are certain things you need to know.
First of all, you need to verify that your area permits whatever fan, ducts, etc., that you will be using for this process. The best way to find out your area bathroom code is by phone calling the appropriate authorities or call a licensed roofer in your area. Not someone in another area. Someone in your area will have a better idea of the bathroom code than a roofer in another distant location.
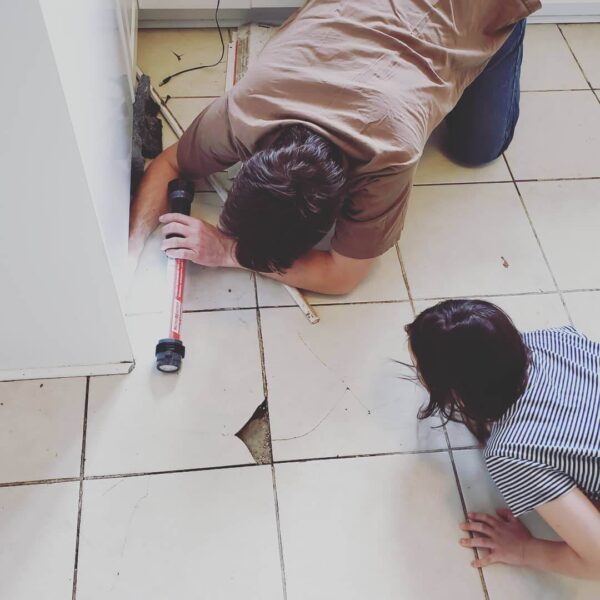
Another thing you need to take note of is the installation process. You need to ask yourself whether you are skilled enough to do the installation by yourself. The reason is that while some people will tell you to do it yourself (DIY), the installation might not be as easy as it might sound. I’ve seen some people who started the installation process and got stuck on the way. If you know you’ve never done such work before, it’s better to call a licensed roofer to do the work for you.
Things to Consider Before Using the Ceiling to Wall Venting Options
You need to consider certain things if you are ever going to use the ceiling to wall venting options for your basement bathroom exhaust fan. These are:
The Amount of airflow Needed the Bathroom
First of all, you need to know the capacity of airflow required in your bathroom, and the best way to know this is by the size of your bathroom. To maximize the purpose of installing the exhaust fan in the first place, it is always wise to determine the amount of airflow you need in your bathroom. However, if your bathroom is small or less than 100 square feet, you may want to go for the 50 CFM. If it’s a large bathroom, you can go for one that is larger than 50 CFM.
The Area Bathroom Code
Before buying any bathroom exhaust fan venting for your basement bathroom, you must verify that your area permits the method you want to use and everything to be on the safer side. You don’t want to do what house inspectors will Shawn when they visit. The best way to find out about the code is to give the appropriate authorities a call or call a licensed roofer.
The Hole Size
Verifying the hole size you need to create before making the installation is the best thing to do. You don’t just create a hole. Like I said earlier, use your drill and make a hole mark from inside the basement bathroom. When the mark is made, go out and create the whole. You are not allowed to create the hole from the inside. Just mark through the wall where you want the hole to go out from, go outside, use the vent, measure the hole, mark the measurement with a pen or pencil, and carefully create it.
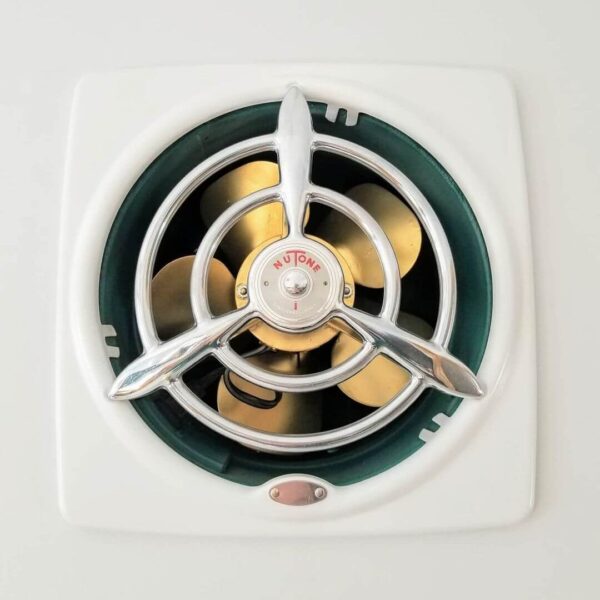
How to Install Basement Bathroom Exhaust Fan
Installing a basement bathroom fan is very easy only if you have done such work before or are very conversant with such a job. Gather all the installation tools necessary and watch a YouTube video directing you how to do it.
I refused to write down the procedure here because it’s not something you can just read how to do and perfect, especially if you are doing it for the first time. Seeing the visual aspect of it will give you every detailed explanation you need. So, I strongly recommend you watch the tutorial from YouTube. Just go to YouTube and search “how to install basement bathroom exhaust fan.”
Another suggestion is to call a professional licensed roofer. There is no need to do this type of work by yourself if you have never done it before. It can be very technical. You need an experienced roofer to do the work to avoid having complicated issues in the nearest future.
Meanwhile, it will do me a disservice if I finish this article without telling you the pros and cons of using this option. Of course, everything has its pros and cons, and this venting option is not exempted. However, make sure to insulate the duct when installing it. The best duct to use is a rigid duct. You can use a flexible duct if you want.
Pros of Ceiling to Wall Venting Option
- One of the pros of using a ceiling to wall venting option for your basement bathroom exhaust fan is that it is common. Commonly, most municipalities approve its use, but it’s best to verify it on the safer side.
- With this venting option, you will never be afraid of animals intruding inside the bathroom through the vent. Make sure to use external caulks around the vent after its installed.
Cons of Ceiling to Wall Venting Option
- The vent is likely to be disturbed during heavy rainfall.
- Depending on where the vent is situated, birds of the air may build their next around it.
However, do not let these cons stop you from using this venting option for your basement bathroom. Like I said earlier, this option is most common among households. Any professional licensed roofer will testify to that.
Meanwhile, you can seal or caulk the vent’s hood to prevent rainfall from disturbing the normal functioning of the vent. Make sure the hood is intact and is sealed properly.
Final Thoughts
Installing the basement bathroom’s exhaust fan can be done using the ceiling to wall venting option through the rim joist. However, you don’t necessarily have to do the installation yourself. Call a licensed roofer to do the work for you. Even if you want to do it yourself, make sure to verify the bathroom code in your area to avoid doing something you will regret later.


Leave a Comment